可以按如下方式设置应用程序的样式 -
- 使用样式表组件
- 使用内联样式
使用样式表组件
当您想要将样式应用到应用程序时,React 原生样式表组件非常方便且简洁。要使用样式表组件,首先将其导入,如下所示 -
import { StyleSheet } from 'react-native';您可以使用样式表组件创建样式,如下所示 -
const styles = StyleSheet.create({
   container: {
      flex: 1,
      marginTop: StatusBar.currentHeight || 0,
   },
   item: {
      margin: 10,
      padding: 20,
      marginVertical: 8,
      marginHorizontal: 16,
   }
});
上面的样式可以在你的代码中使用如下 -
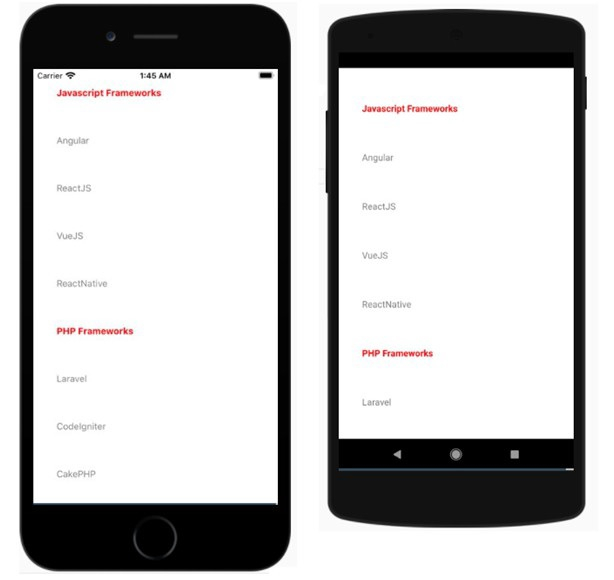
<View style={styles.container}></View>这里是一个使用样式表来显示 FlatList 组件的示例 -
立即学习“前端免费学习笔记(深入)”;

示例 1
import React from "react";
import { FlatList , Text, View, StyleSheet, StatusBar } from "react-native";
export default class App extends React.Component {
   constructor() {
      super();
      this.state = {
         data: [
            { name: "Javascript Frameworks", isTitle: true },
            { name: "Angular", isTitle: false },
            { name: "ReactJS", isTitle: false },
            { name: "VueJS", isTitle: false },
            { name: "ReactNative", isTitle: false },
            { name: "PHP Frameworks", isTitle: true },
            { name: "Laravel", isTitle: false },
            { name: "CodeIgniter", isTitle: false },
            { name: "CakePHP", isTitle: false },
            { name: "Symfony", isTitle: false }
         ],
         stickyHeaderIndices: []
      };
   }
   renderItem = ({ item }) => {
      return (
         <View style={styles.item}>
            <Text style={{ fontWeight: (item.isTitle) ? "bold" : "", color: (item.isTitle) ? "red" : "gray"}} >
               {item.name}
            </Text>
         </View>
      );
   };
   render() {
      return (
         <View style={styles.container}>
            <FlatList
               data={this.state.data}
               renderItem={this.renderItem}
               keyExtractor={item => item.name}
               stickyHeaderIndices={this.state.stickyHeaderIndices}
            />
         </View>
      );
   }
}
const styles = StyleSheet.create({
   container: {
      flex: 1,
      marginTop: StatusBar.currentHeight || 0,
   },
   item: {
      margin: 10,
      padding: 20,
      marginVertical: 8,
      marginHorizontal: 16,
   }
});
输出
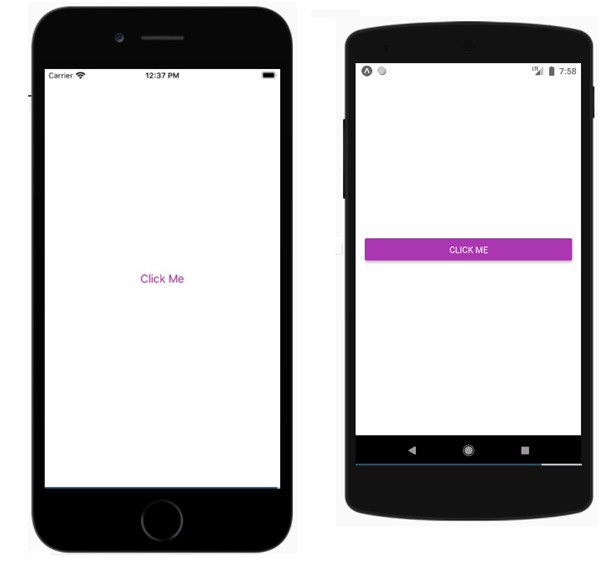
使用内联样式
您可以使用 style 属性来添加内联样式。然而,这不是最佳实践,因为它可能很难阅读代码。这是一个关于如何在reactnative组件中使用内联样式的工作示例
示例2
导出默认应用程序;
import React from 'react';
import { Button, View, Alert } from 'react-native';

const App = () => {
   return (
      <View style={{flex :1, justifyContent: 'center', margin: 15 }}>
         <Button
            title="Click Me"
            color="#9C27B0"
            onPress={() => Alert.alert('Testing Button for React Native ')}
         />
      </View>
   );
}
输出