


作为编码者,美工基础是偏弱的。我们可以参考一些成熟的网页ps教程,提高自身的设计能力。套用一句话,“熟读唐诗三百首,不会作诗也会吟”。
本系列的教程来源于网上的PS教程,都是国外的,全英文的。本人尝试翻译这些优秀的教程。因为翻译能力有限,翻译的细节上还有待推敲,希望广大网友不吝赐教。
约定:
1、本文的软件是Photoshop CS5版本
2、原教程的截图是英文的,本人在重新制作的基础上,重新截了中文版的图
3、原文中有些操作没有给出参数。本人在反复测试的情况下测定了一些参数,以红色的文字显示。有些错误的参数,直接以红色文字显示正确的参数
例如:(90,22,231,77),表示矩形的左上角的坐标是(90,22),宽231,高77
例如:(90,22),表示矩形的左上角的坐标是(90,22),矩形的其他两个参数教程里已经指定
4、在教程的最后会附上本人的心得。有些是对教程中的一些步骤的优化等。
Let’s start the tutorial.
Open Photoshop and create a new document 1020 by 1100px
让我们开始教程
打开Photoshop,新建一个文档,尺寸:1020*1100px

Next select Rectangle Tool and create a large rectangle over your document. I have used this color: #e5e4e4
接下来用矩形工具创建一个覆盖整个文档的矩形,颜色: #e5e4e4
这一步可以斟酌一下,个人觉得用油漆桶工具比较好
Step 1
I will select ellipse tool and I will create this white shape
步骤1
选择椭圆工具创建如下的白色椭圆

Step 2
I will go to Filter>Blur>Gaussian Blur and I will apply a radius of about 35px
步骤2
用滤镜 > 模糊 > 高斯模糊,半径设置为35px

Step 3
From Premium Files, available to our Premium Members I will use Hand Drawn Vector Ornaments and I will add an element on my document.
I will lower the opacity to 4% also
步骤3
在Premium Files, 到达我们的 Premium Members ,我将用 Hand Drawn Vector Ornaments 里的图案放在我的文档里
把它的不透明度调到4%

Step 4
Next I will select Rectangle Tool and I will create this 3 shapes at the top:
步骤4
接下来,用矩形工具在顶部创建3个矩形。3个矩形高度为6px,颜色分别为: #cdaeac、#ad8b8a、#a18280
Step 5
With Type Tool I will write “Elegant Website” and as a tagline I will use “a design by trendyTUTS”. The font used is Ariston, with 48pt in size.
For “Elegant” I have applied this layer styles:
步骤5
用文字工具添加文字elegant website,对下面的标志行添加文字a design by trendyTUTS。字体用Ariston,48号字。
对Elegant添加下面的图层样式:


颜色叠加:颜色: #c7c1c1

For “Website” this layer styles:
对website添加如下的图层样式:


颜色叠加:颜色: #d38475

My result:
结果如下:

Step 6
On this step I’ll make use of our Premium Files again. This time from Universal Vector Icons 2, I’ll select a badge icon and I will add it on my document.
步骤6
在这一步,我又要访问 Premium Files 。这次用Universal Vector Icons 2,选择badge icon添加到我的文档中。

I will apply the following layer styles to my badge:
对刚才的图标添加下面的图层样式:


颜色叠加:颜色: #d2d2d2

Here is my result:
结果如下:

Step 7
With Type Tool I will add some text on the right side. I will write “Call us – 1-800-elegant”
步骤7
用文字工具在右边添加call us – 1-800-elegant。其中call us和之前的elegant图层样式一样,1-800-elegant和之前的website图层样式一样。

Step 8
I will use Rectangle Tool and I will create this black shape.
步骤8
用矩形工具添加如下的黑色矩形。(0,223,1020,65) 颜色: #636363

Step 9
Having Rectangle Tool selected I will create another shape on the top of the shape created Step 6. I have used a red color just for demonstration proposes. When you create this shape you will need to use this color: # e5e4e4
步骤9
用矩形工具创建另一个矩形在刚才矩形的顶部。我为了示范建议用红颜色。当您创建此矩形,您将需要使用颜色: #e5e4e4
跟着教程走,也先用红颜色,再改成#e5e4e4,矩形(70,223,882,40)

Step10
Make sure that the layer of the shape created on step 8 is selected on your layer palette,select Direct Selection Tool and drag a little bit from the bottom left corner of the shape. Please see the screenshot:
Proceed in the same way for the right side. Here is my result:
请确保刚才新建的矩形图层被选中的状态,用直接选择工具拖动矩形的左下角,看屏幕快照:拖动的时候按住shift,可以保持水平不动,结合信息面板上的提示,可以完美的拖动成45度角

用同样的方式,拖动矩形的右下角,再将颜色改回#e5e4e4,结果如下:

Step 11
With Rectangle Tool I will create this shape. Color used: # d67474
步骤11
用矩形工具创建一个矩形(76,187,870,76),颜色: #d67474

Step 12
With Ellipse Tool I will create this shape:
步骤12
用椭圆工具创建如下的椭圆:

And I will apply a Gaussian Blur of about 34px. My result
然后对椭圆添加高斯模糊,半径设置为34px(个人觉得半径8px比较合适,不知为什么,他的参数就基本上什么都看不到了),结果如下

Step 13
I will surround the navigation with this sign “——————————”. To create a nice effect I will apply this layer styles:
步骤13
我将符号“----------”围绕着导航栏一圈,为了漂亮,添加如下的图层样式:
用文字工具,调整字符间距,以达到虚线框的效果

My result
结果如下

Step 14
With Type Tool I will add the text for navigation
I have used Ariston font with 24px in size
步骤14
用文字工具在导航栏上添加一些文本,字体Ariston,大小24px
为了和样张一样,还对文字增加了投影的设置:
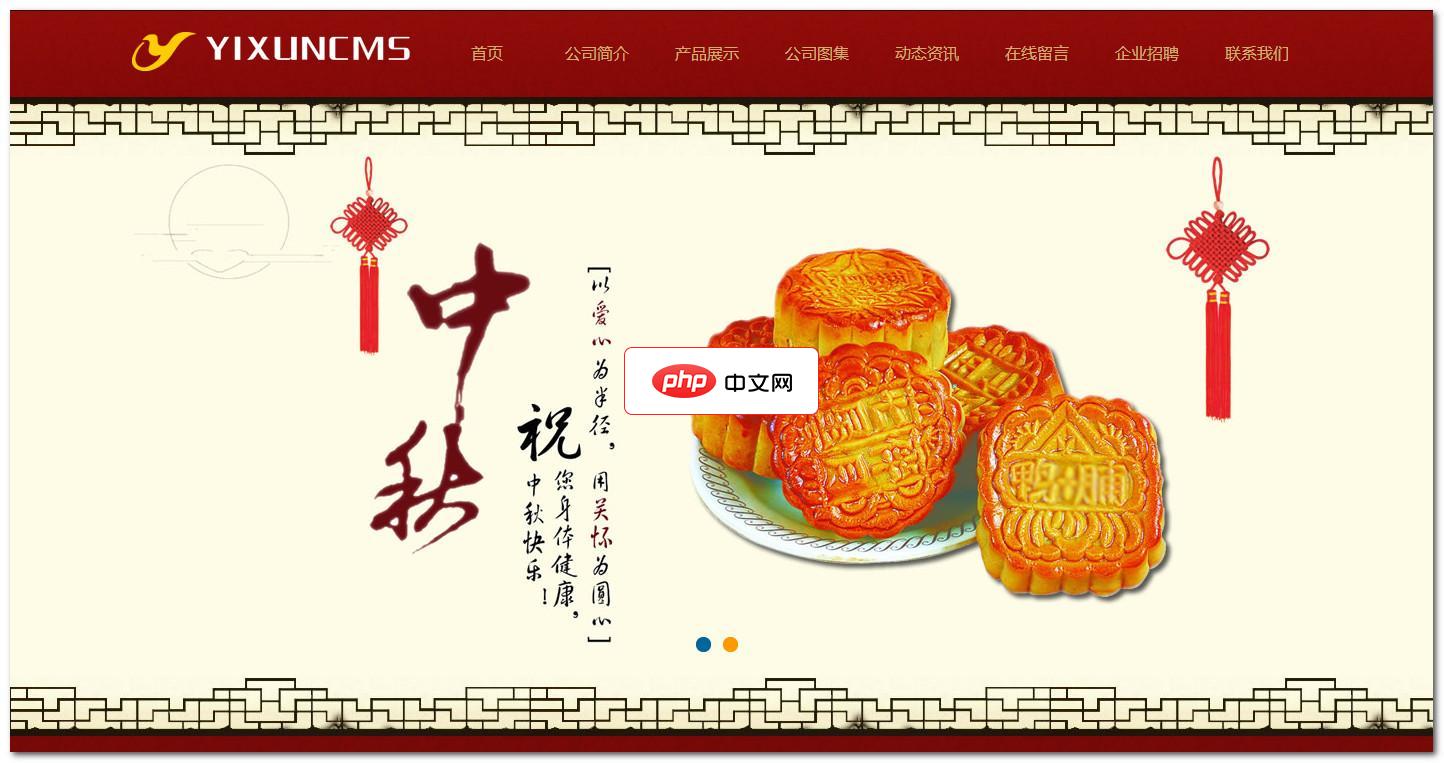
系统介绍:YIXUNCMS中专专版是易迅软件工作室在中秋节来临之即推出的专题模板建站系统,使用增强版后台管控系统,板板设计符合节日特点。易迅软件工作室恭祝全国人民中秋快乐。特别提示:由于网站页面的不同设计,部分后台功能未在前端进行体现。系统特点:1、采用目前流行的PHP语言编写,底层采用超轻量级框架作为系统支撑;2、页面布局使用DIV+CSS技术,遵循WEB标准,及大提高页面的浏览速度;3、使用应


Step 15
With Pen Tool I will create this arrow wich it will act as an selector for navigation.
步骤15
用钢笔工具创建导航栏上菜单被选中时的三角箭头。
用多边形工具,将边数改成3,创建三角形可能还更方便一点

Step 16
With rectangle Tool I will create this shape on the middle of the page. Make sure that the layer of the shape created is selected on your layer palette, select Direct Selection Tool and drag a little bit from the top left corner of the shape. Please see the screenshot:
步骤16
用矩形工具在页面的中部创建矩形(36,552,950,50),确保矩形的图层处于被选中的状态,用直接选择工具,拖动矩形的左上角,请参考下图:

I will proceed in the same way for the right corner, then I will apply this layer styles:
用同样的方法调整矩形的右边,然后添加如下的图层样式:渐变编辑器的三个颜色从左至右分别为:#f4f4f4,#fefefe,#ffffff


Step 17
With Rectangle Tool I will create another shape and I will apply this layer styles:
步骤17
用矩形工具创建另一个矩形(36,602,950,438),然后添加如下的图层样式:渐变编辑器的颜色从左只有分别为: #f6f6f6,#ffffff,#ffffff


Step 18
With Pen Tool I will create this triangles at the bottom of the shape created on Step 15
用钢笔工具在刚才的白色的矩形底部创建两个三角形

I will apply a Gaussian Blur of about 40px.
对两个三角形添加高斯模糊,参数:40px
My result
结果如下:

Step 19
Next I’ll make use of Premium Files. From Universal Vector Icons 2, I will add a Light Bulb and from Hand Drawn Vector Ornaments, I will use some ornaments.
步骤19
接下来要从Premium Files上的Universal Vector Icons 2,从中添加灯泡图案,并且从Hand Drawn Vector Ornaments上添加一些花纹。
Step 20
With Type Tool I will add some text
步骤20
用文字工具添加一些文字
Step 21
To enhance the title “We Bring Ideas to Life” I have used 2 type of fonts: Arial and Ariston. I have used also 6 lines (3 on the left and 3 on the right side of the title). For this lines I have applied this layer styles:
步骤21
对标题文字We Bring Ideas to Life,用两种字体:Arial 和 Ariston。字号:44px,对标题文字添加内投影,参数如图,颜色: #bbb7b6。

添加6条直线(3条在标题的左边,3条在标题的右边),对这些直线添加如下的图层样式:

内阴影:颜色:#797979

颜色叠加:颜色: #fbfbfb


Step 22
With Pen Tool I will create this 2 triangles and I will apply a Gaussian Blur of about 10px
步骤22
用钢笔工具创建2个三角形,并对它们进行高斯模糊,参数10px

Step 23
On the top of the triangles created on Step 21, with Rectangle Tool I will create this shape and I will apply this layer styles.
步骤23
在刚才的阴影上方,用矩形工具创建矩形(720,518,184,56),并添加如下的图层样式:
参考样张,似乎应该是圆角矩形工具,我给的半径参数是10


颜色叠加:颜色: #e7e7e7


Step 24
Having Rectangle Tool still selected, I will create another shape on the top of the shape created on Step 22, I will apply this layer styles and with Type Tool I will add some text
步骤24
保持矩形工具选择状态,在刚才的矩形的上方创建一个新的矩形,添加如下的图层样式,并添加一些文字
参考样张,还是用圆角矩形,直接复制刚才的图层,然后自由变换,各自缩进14px。文字的颜色和样式和之前步骤19中的文字一致。


渐变叠加,颜色分别为:#f6f6f6,#ffffff


Step 25
Because this area it will be a jquery slideshow, we will need to create the arrows as well. I will select Line Tool with 10px weight I will draw 2 identical lines, than with Free Transform Tool (Ctrl + T) I will arrange them to create an arrow. I will apply this layer styles also:
步骤25
因为要用jquery显示幻灯片,我们将创建左右的箭头。我将选择直线工具,设置10px的粗细, 画2条相同的直线,然后用自由变换工具 (Ctrl + T)排列它们,以创建一个箭头。我还将运用如下的图层样式:
这两个箭头还是颇费了一番功夫,目前采用的方法是,先用直线工具画一条水平直线,长度40px,Ctrl+J复制图层,将复制的图层顺时针旋转90度。微调这两条直线,使得左上角重合。然后合并图层,再逆时针旋转45度。再Ctrl+T自由变换,高度调整为原来的94%左右。再添加如下的样式。做好一个箭头后,Ctrl+J复制图层,水平翻转,得到另一个箭头。再调整箭头到合适的位置。


颜色叠加:颜色: #c7c1c1


Step 26
Now I will create the content area. I will select Type Tool and I will write “Latest Project”. I have applied this layer styles:
步骤26
现在要创建内容区域。用文字工具添加文本Latest Project。并添加如下的图层样式:


颜色叠加:颜色: #ececec


Step 27
With Pen Tool I will create this 2 triangles and I will apply a Gaussian Blur of about 10px.
Over this triangles I will add an image. I will repeat the same process and I will create a total of 6 similar thumbnails.
步骤27
用钢笔工具画2个三角形,并对其添加高斯模糊,参数10px
在三角形的上方,添加图片。重复同样的过程,一共要创建8个相似的图片缩略图

下面是我最终的效果:

心得:
1、合理建立图层分组:
之前没有感觉。这3个例子做下来,动辄数十个图层,在日后的编辑是很头疼的事情。所以一般会根据不同的区域新建一个图层分组,在这个区域内的图层都划并到同一个组。这样,日后修改就方便多了。从网页设计来讲,一般划分为这几个组:Header、Navigation、Feature、Content、Footer、Slider等。图层分组不是必须的,也不会美化你的网页,但是能简化你日后的维护编辑工作
2、虚线:
在PS中是没有设置线型的选项的。因此,如果要画虚线,就不是很方便了。本文提出的不失为一种很巧妙的方法,用文字工具添加文本“--------”,然后调整字符间距,可以很方便快速的模拟出直线的效果。
3、内嵌字的效果:
本文多处通过添加图层样式的方法,来达到文字内嵌的效果。
更多PS网页设计教程III——在Photoshop中设计优雅的网站布局设计 相关文章请关注PHP中文网!


